
Introduction to Chocolate Silk Pie
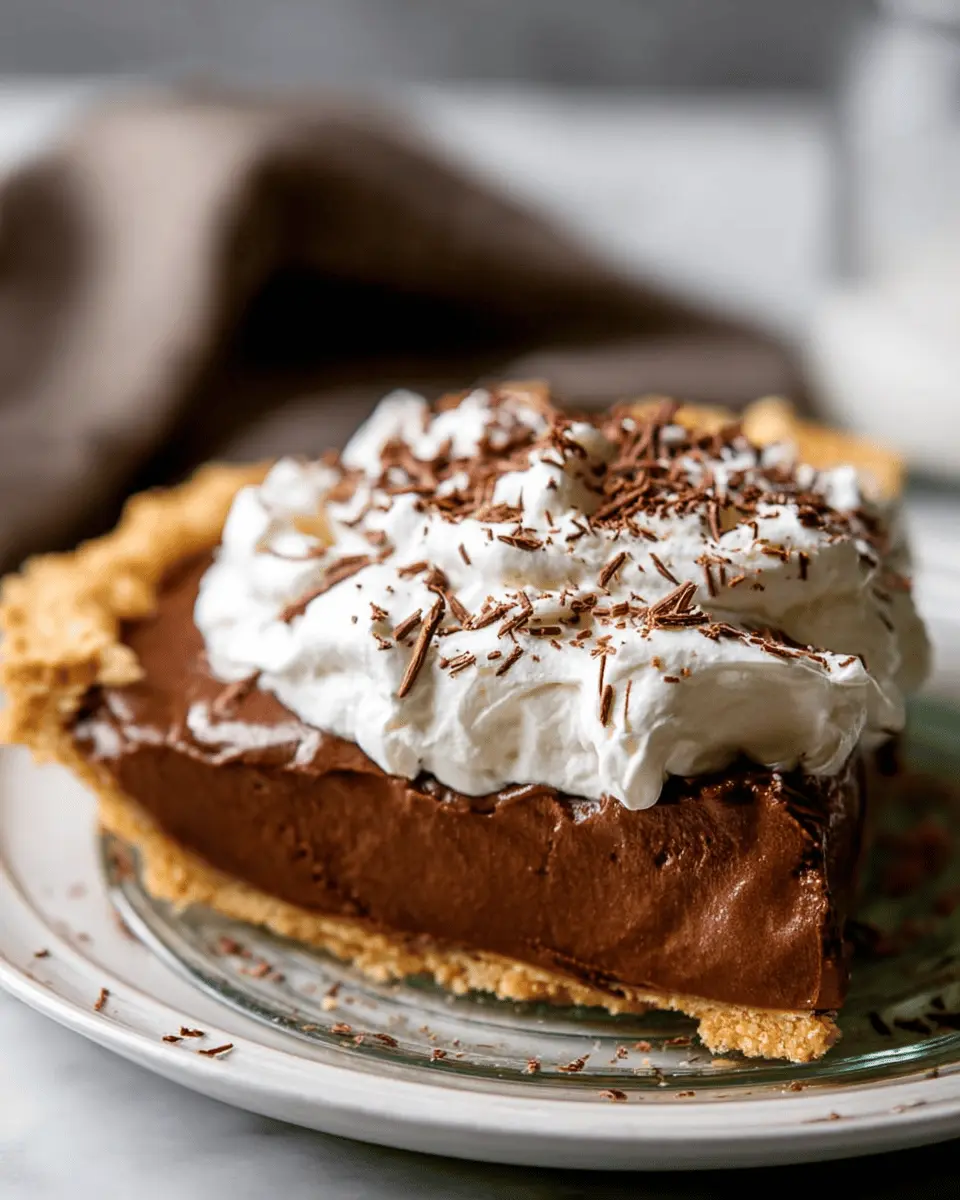
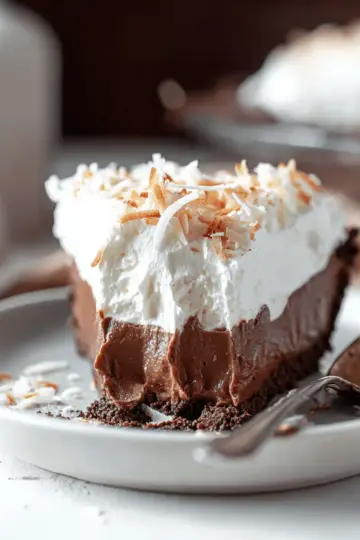
If you're a young professional with a sweet tooth, Chocolate Silk Pie is the dessert you never knew you needed! With its rich, creamy layers and melt-in-your-mouth texture, this classic American pie not only satisfies cravings but also elevates any gathering, whether it's a cozy dinner with friends or a casual office potluck.
Why Chocolate Silk Pie is Perfect for Young Professionals
Let’s face it: life can be hectic, and finding time to cook elaborate desserts can be a challenge. That's where Chocolate Silk Pie comes to the rescue! With a prep time of about six hours, most of which is chilling time, this pie allows you to whip it up ahead of time and forget about it until your guests arrive.
Moreover, chocolate has been scientifically linked to boosting your mood—just what you need after a long work week. In fact, the American Psychological Association recognizes how indulging in your favorite sweet treats can provide comfort and joy, an essential boost for young professionals navigating the daily grind. Plus, it's a showstopper that looks and tastes impressive, making you the star of any gathering without clocking hours in the kitchen.
Ready to treat yourself and your friends? Let’s dive into this delectable recipe!
Ingredients for Chocolate Silk Pie
Creating the perfect Chocolate Silk Pie begins with gathering some essential ingredients that come together to create its rich, creamy goodness.
For the Pie Crust
The base of your pie is crucial for that classic texture:
- 1 ¼ cups unbleached all-purpose flour
- 8 tablespoons Kerrygold unsalted butter, very cold and cut into 1 cm cubes
- 3 tablespoons granulated sugar
- ½ teaspoon kosher salt
- 3-4 tablespoons ice water
For the Filling
This is where the magic happens. The filling is smooth and decadent:
- 8 ounces of finely chopped 60% dark chocolate
- 4 eggs
- 1 cup granulated sugar
- 2 teaspoons pure vanilla extract
- 8 tablespoons Kerrygold unsalted butter, at room temperature
- 1 ¼ cups cold heavy cream
- 1 tablespoon powdered sugar
- 1 teaspoon kosher salt
For the Topping
Don’t forget the topping; it adds a delightful finish to your pie:
- 1 ¼ cups heavy cream
- 2 tablespoons powdered sugar
- 1 teaspoon pure vanilla extract
- A pinch of kosher salt
- Chocolate shavings for garnish
These ingredients set the stage for a dessert that’s sure to impress! If you’re curious about how to make the pie crust from scratch, check out this resource on pie crust techniques. Let’s dive into the delicious process of crafting your Chocolate Silk Pie!
Preparing Chocolate Silk Pie
Creating a luscious Chocolate Silk Pie may seem daunting, but with a little patience and love, you’ll find it incredibly rewarding. Let’s break down the process step-by-step, so you can impress friends and family with this heavenly dessert!
Mix the Pie Crust Ingredients
Begin by gathering your ingredients for the pie crust. In a large mixing bowl, combine:
- 1 ¼ cups unbleached all-purpose flour
- 8 tablespoons of very cold, cubed Kerrygold unsalted butter
- 3 tablespoons granulated sugar
- ½ teaspoon kosher salt
Using your fingertips, gently squeeze the butter cubes into the flour, creating a crumbly mixture that resembles wet sand after about 3-4 minutes. This technique helps achieve that flaky crust we all love.
Chill and Roll Out the Dough
Next, add 3-4 tablespoons of ice water, mixing until the dough just comes together. It may seem a bit shaggy, but that's perfectly fine! Gather it into a disc using plastic wrap and chill in the fridge for at least 45 minutes. Once chilled, flour your work surface, cut the disc in half, and roll out to a 12-14 inch circle.
Blind Bake the Pie Crust
Preheat your oven to 400°F. Lay the rolled dough into your greased pie plate, trim the edges, and if you like, crimp them for a decorative finish. To avoid a soggy bottom, cover it with parchment paper and fill it with pie weights or raw beans, then blind bake for 30 minutes, removing the weights for an additional 15 minutes at 350°F. The goal is a perfectly baked, golden crust.
Make the Filling
While the crust cools, prepare your filling! In a small saucepan, whisk together 4 eggs and 1 cup of granulated sugar, cooking over medium-low heat until thickened (about 8-10 minutes). Once thickened, add in 8 ounces of finely chopped dark chocolate, 2 teaspoons of vanilla, and a pinch of kosher salt. Stir until melted and combined.
Combine and Fold the Cream
In your stand mixer, beat 8 tablespoons of room-temperature butter until creamy. Gradually mix in the chocolate mixture and beat for an additional 5 minutes. In a separate bowl, whip 1 ¼ cups of cold heavy cream with 1 tablespoon of powdered sugar until stiff peaks.
Gently fold half of the whipped cream into the chocolate to lighten it, then fold in the remaining cream until no white streaks remain. Pour this delightful mixture into your cooled pie crust.
Assemble the Pie
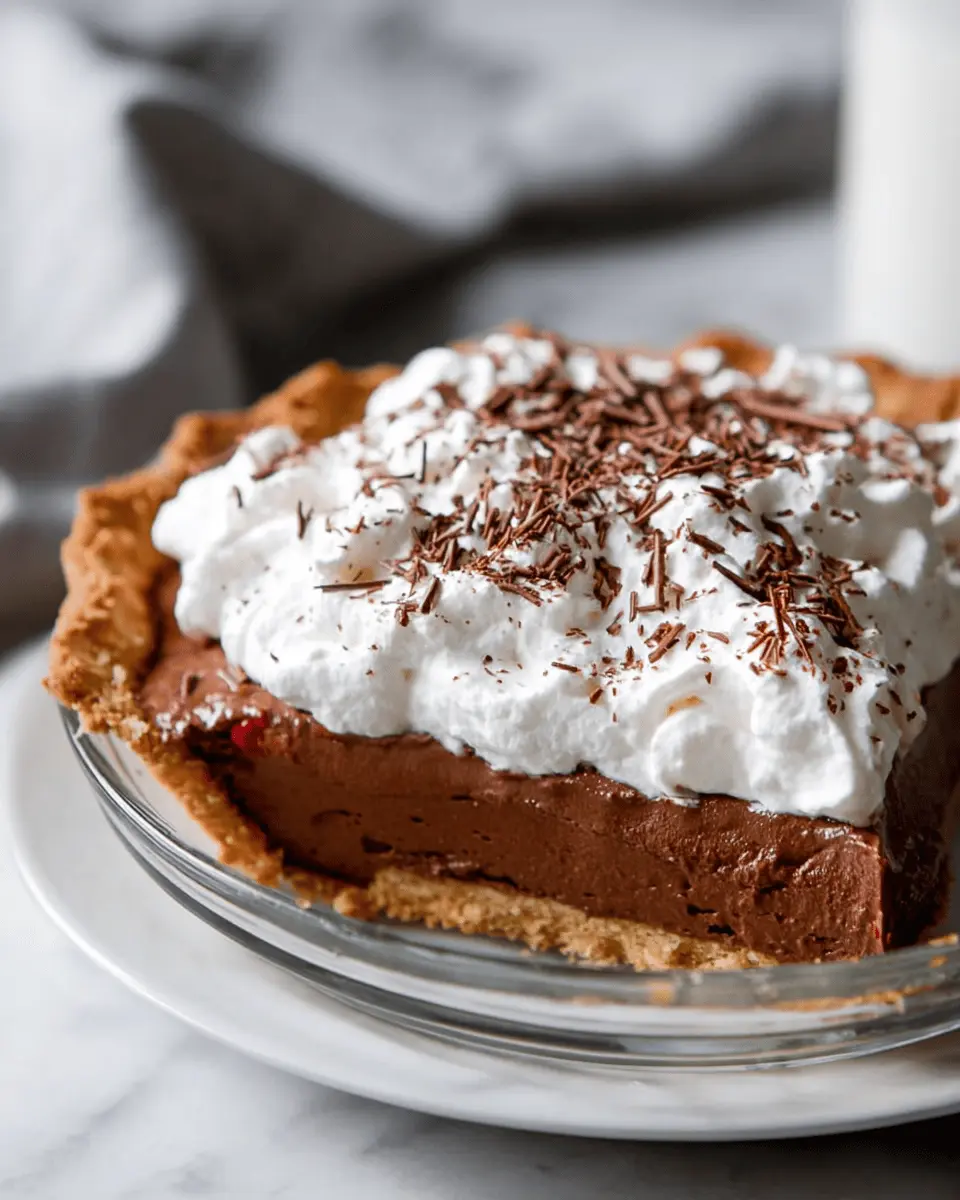
Smooth the top of the chocolate filling evenly and chill for a minimum of 1.5 hours. This allows the filling to set properly, making each slice a dream.
Chill and Prepare for Serving
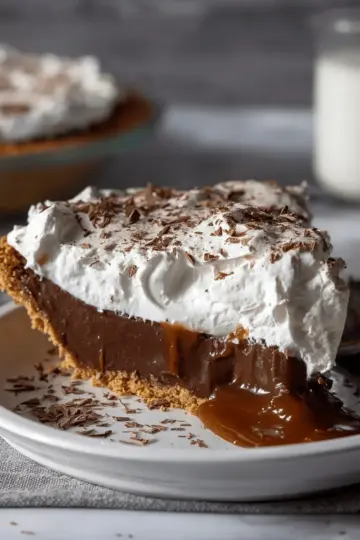
For the finishing touch, whip 1 ¼ cups of heavy cream with 2 tablespoons of powdered sugar and 1 teaspoon of vanilla until medium peaks form. Spread this velvety cream over your chilled chocolate layer and garnish with chocolate shavings.
Finally, slice into this chocolate silk pie, and watch as smiles light up the room. Enjoy your creation!
By following these steps, you will not only craft a stunning dessert but also create memories worth savoring. For more baking tips, check out King Arthur Baking for excellent resources on pie making and more.

Variations on Chocolate Silk Pie
Vegan Chocolate Silk Pie
For a delicious dairy-free twist, try a vegan version of chocolate silk pie. Replace the eggs with a mix of silken tofu and a bit of almond milk for a creamy texture. Swap the unsalted butter for coconut oil or vegan butter and use a vegan chocolate option. This version captures the richness of the original while maintaining a lighter, plant-based profile. Perfect for your vegan friends or anyone seeking a dairy-free dessert!
Peanut Butter Chocolate Silk Pie
If you're a peanut butter lover, you can't go wrong with a peanut butter chocolate silk pie. Simply blend in half a cup of smooth peanut butter into your chocolate filling for that classic peanut butter and chocolate combination. Top it off with crushed peanuts and a drizzle of melted chocolate for a decadent finish that elevates the traditional chocolate silk pie experience. It's a treat that really takes the classic to a whole new level!
Cooking Notes for Chocolate Silk Pie
Importance of Ingredient Temperature
Getting the temperature of your ingredients right is crucial for a perfect chocolate silk pie. Using cold butter keeps your pie crust flaky and tender. The heavy cream should also be cold to whip up beautifully, creating that luxurious texture in both the filling and the topping. Ensure your eggs are at room temperature to meld seamlessly into the chocolate mixture.
Tips for a Flaky Crust
A flaky crust can elevate your chocolate silk pie to new heights. When mixing the butter into your flour, aim for a crumbly texture, resembling small peas. Additionally, be sure to chill your dough before rolling it out; this helps maintain that desired flakiness. Don't skip the rest time in the fridge after you've shaped your crust—this step is key to preventing shrinkage during baking.
For more baking tips, consider checking out Bon Appétit’s pie crust guide.
Serving Suggestions for Chocolate Silk Pie
Pairing with Fresh Berries
If you're looking to elevate your Chocolate Silk Pie, consider serving it alongside a medley of fresh berries. The tartness of raspberries, strawberries, or blueberries contrasts beautifully with the rich, creamy filling, enhancing the overall flavor experience. A drizzle of berry coulis can also add a splash of color and introduce refreshing acidity, making each bite a delightful journey of textures and tastes.
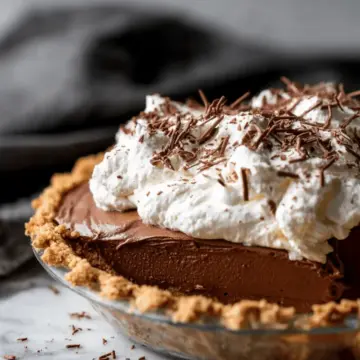
Garnishing Ideas
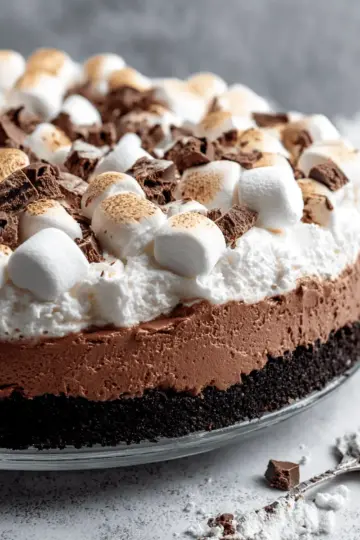
Garnishing can take your Chocolate Silk Pie to the next level! Think about topping it with a cloud of freshly whipped cream, perhaps lightened with a touch of vanilla. For visual appeal, chocolate shavings or curls can add elegance, while a sprinkle of sea salt can contrast the sweetness, bringing out the deep chocolate flavor. For a fun twist, consider adding crushed cookies or nuts for a crunchy texture. Want more ideas? Check out this Whipped Cream Guide for inspiration on making the perfect topping!
When it comes to serving, don't shy away from creativity. The goal is to make every slice of your Chocolate Silk Pie a celebration!
Time Breakdown for Chocolate Silk Pie
Preparation Time
Creating the chocolate silk pie starts with a preparation time of about 6 hours. This includes some hands-on time for the crust and filling, followed by necessary chilling periods to ensure the flavors meld beautifully.
Cooking Time
You'll need around 45 minutes for the actual cooking. This involves baking the pie crust and preparing the decadent filling that makes your pie irresistibly rich.
Total Time
In total, you should plan for 6 hours and 45 minutes from start to finish. This time investment pays off with a dessert that's sure to impress and delight anyone fortunate enough to try your creation!
For more delicious pie recipes, check out Food Network or Bon Appétit for inspiration!
Nutritional Facts for Chocolate Silk Pie
Calories
Indulging in a slice of chocolate silk pie brings about approximately 450 calories. While it's rich and decadent, savoring every bite ensures you enjoy this treat without the guilt.
Sugar Content
This delightful dessert contains around 35 grams of sugar per slice, which provides that irresistible sweetness characteristic of classic chocolate silk pie. Just remember, moderation is key for a balanced diet!
Fat Content
An indulgent dessert like this comes with about 30 grams of fat, mainly from the buttery crust and creamy filling. It's the perfect treat for special occasions, so consider sharing with friends to balance out the indulgence!
For more insights on the nutritional content of desserts and tips for enjoying them responsibly, check out sources like NutritionData or MyFitnessPal.
FAQs about Chocolate Silk Pie
Can I make Chocolate Silk Pie ahead of time?
Absolutely! One of the best things about chocolate silk pie is that it can be made a day in advance. Just be sure to store it in the refrigerator to keep it fresh. This allows the flavors to meld beautifully and ensures a delightfully sturdy texture when you’re ready to serve.
What are some great substitutes for ingredients?
If you’re looking to switch things up, there are several ingredient swaps you might consider:
- Butter: You can replace it with coconut oil or a dairy-free margarine for a vegan version.
- Heavy cream: Consider using evaporated milk for a lighter option, or coconut cream for a dairy-free alternative.
- Sugar: Try using coconut sugar or a sugar substitute like stevia for a lower-calorie option.
How should I store leftover Chocolate Silk Pie?
To keep your chocolate silk pie fresh, cover it tightly with plastic wrap or aluminum foil and store it in the refrigerator. It should stay delicious for 3 to 4 days. For the best taste, enjoy it within the first couple of days.
For additional tips on baking and ingredient substitutions, check out resources like The Kitchn and Bon Appétit.
Conclusion on Chocolate Silk Pie
In conclusion, this Chocolate Silk Pie is not just a dessert; it's a celebration of flavor and texture that everyone can enjoy. With its luxurious layers and creamy richness, it's sure to impress your friends and family. So why not whip one up for your next gathering? Happy baking!
Chocolate Silk Pie
Equipment
- large mixing bowl
- spatula
- Stand Mixer
- pie plate
- whisk
- Saucepan
Ingredients
Pie Crust
- 1 ¼ cups unbleached all purpose flour
- 8 tablespoons Kerrygold unsalted butter very cold, in 1 cm cubes
- 3 tablespoons granulated sugar
- ½ teaspoon kosher salt
- 3-4 tablespoons ice water
Filling
- 8 ounces 60% dark chocolate chopped finely
- 4 eggs
- 1 cup granulated sugar
- 2 teaspoons pure vanilla extract
- 8 tablespoons Kerrygold unsalted butter at room temperature
- 1 ¼ cups heavy cream cold
- 1 tablespoon powdered sugar
- 1 teaspoon kosher salt
Topping
- 1 ¼ cups heavy cream
- 2 tablespoons powdered sugar
- 1 teaspoon pure vanilla extract
- pinch of kosher salt
- chocolate shavings for garnish
Instructions
Preparing the Crust
- In a large mixing bowl, combine the all purpose flour, small cubes of cold butter, and kosher salt. Use your fingertips to squeeze the cubes of butter into the flour, flattening them out into small sheets of flour-coated butter. Continue squeezing the flour into the butter for 3-4 minutes until the mixture is crumbly.
- Add the ice water, and use a spatula or wooden spoon to combine. The dough will just start to come together, but will still be very crumbly and shaggy. Line the work surface with a piece of plastic wrap, then pour the shaggy dough onto the plastic wrap. Use the plastic wrap to gather the dough together, and press it into a disc shape. Chill in the refrigerator for at least 45 minutes.
- Remove the dough from the fridge, cut the disc in half and stack the two halves on top of each other. This will help create even more flakey layers. Flour your work surface generously, then sprinkle extra flour on top of the dough. Roll the dough out into a 12 to 14 inch circle.
- Spray a pie plate with nonstick cooking spray. Lay the pie dough into the prepared pie dish. Trim the edges, and crimp if desired. Place the shaped pie dough back into the fridge for 15 minutes to firm up. Meanwhile, preheat the oven to 400°F. Remove the dough from the fridge, and place a piece of parchment paper in the center of the dough. Then pour pie weights or raw beans into the pie plate. This will keep the crust from sinking as it bakes, and it’s called 'blind-baking.'
- Bake for 30 minutes, then remove the parchment paper and pie weights, lower the oven temperature to 350° and bake for another 15 minutes. Set aside to cool.
Preparing the Filling
- Meanwhile, prepare the filling. In a small saucepan, combine the eggs and granulated sugar. Stir constantly while the mixture cooks over medium low heat. Cook for about 8-10 minutes until the mixture thickens, and coats the back of a spoon, or reaches 160°F.
- Place the finely chopped chocolate, vanilla extract and kosher salt in the saucepan with the hot egg mixture. Let it stand for 1-2 minutes, then whisk until the chocolate is melted and thoroughly combined. Set aside to cool slightly.
- Meanwhile, place the 8 tablespoons of unsalted butter in the bowl of a stand mixer fitted with the paddle attachment. Beat on medium speed for 3 minutes until light and creamy. Slowly add the chocolate mixture to the bowl of the mixture, and beat for another 5 minutes until glossy and smooth. Pour the mixture into a separate medium size bowl.
- Place the 1 ¼ cups of heavy cream and the tablespoon of powdered sugar in the clean bowl of the stand mixer fitted with the whisk attachment. Beat on medium speed until the cream thickens and forms stiff peaks.
- Spoon ½ cup of the whipped cream into the chocolate mixture. Fold in to lighten up the chocolate. Then, add the remaining whipped cream and fold in until no white streaks remain. Pour the chocolate cream mixture into the cooled pie crust shell. Smooth out the top into an even layer. Chill for at least 1 and a half hours.
Making the Topping
- Meanwhile, make the whipped cream topping. Beat the remaining 1 cup of whipped cream and 2 tablespoons of powdered sugar and teaspoon of vanilla extract in the stand mixer with the whisk attachment. Beat until medium peaks form. Spoon the whipped cream on top of the chilled chocolate layer, and top with chocolate shavings. Serve chilled.
Leave a Reply